
If you’re an avid Android user, you’re probably familiar with the Play Store and all its amazing apps. However, what if you’re using Windows 11 and want to access the Play Store? With the right tools and steps, you can easily download the Play Store onto your Windows 11 device and enjoy all the apps and games you love.
This step-by-step guide will take you through the entire process, from setting up an Android emulator to downloading and installing the Play Store onto your Windows 11 device. Whether you’re a tech-savvy user or a newcomer to the world of digital downloads, this guide will help you get the Play Store up and running on your Windows 11 device in no time.
Understanding the System Requirements
Before downloading the Play Store on your Windows 11 device, you should first understand the system requirements. Your device should have at least 4GB of RAM and 64GB of storage space.
Additionally, the device should have a 64-bit processor and support virtualization technology. You can continue to the next step if your device meets these requirements.
Enabling Developer Mode on Windows 11
You’ll need to enable developer mode before downloading Google Play Store app to your Windows 11. Follow the steps below:
- Click on the “Start” button and choose “Settings.”
- Select “Update and Security” and click “For developers.”
- Under “Use developer features,” select “Developer mode.”
Proceed to the next step once you do this.
Downloading and Installing an Android Emulator
An Android emulator is a software program allowing one to run Android apps on their Windows 11 device. Several Android emulators are available, but the most popular one is BlueStacks.
Installing BlueStacks
You can install BlueStacks through the following steps:
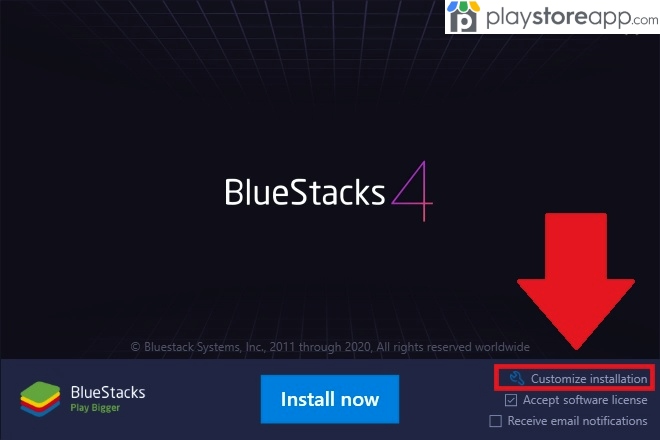
- Go to the official BlueStacks website and click the “Download BlueStacks” button.
- Once the download is complete, click on the BlueStacks installer file and follow the on-screen instructions to install the program.
- After the installation, open BlueStacks and sign in with your Google account.
Download and Install Play Store APK
Once you have an Android emulator installed on your Windows 11 device, you can download and install Play Store APK. Do the following:
- Open your web browser and search for “Google Play Store APK download.”
- Choose a trusted website that offers Play Store APK for download.
- After the download, open BlueStacks and click the “Install APK” button.
- Select Play Store APK file and click “Open” to install it.
Configuring Play Store on Windows 11
Once you install the app, you will need to configure it before installing apps: Follow the steps below:
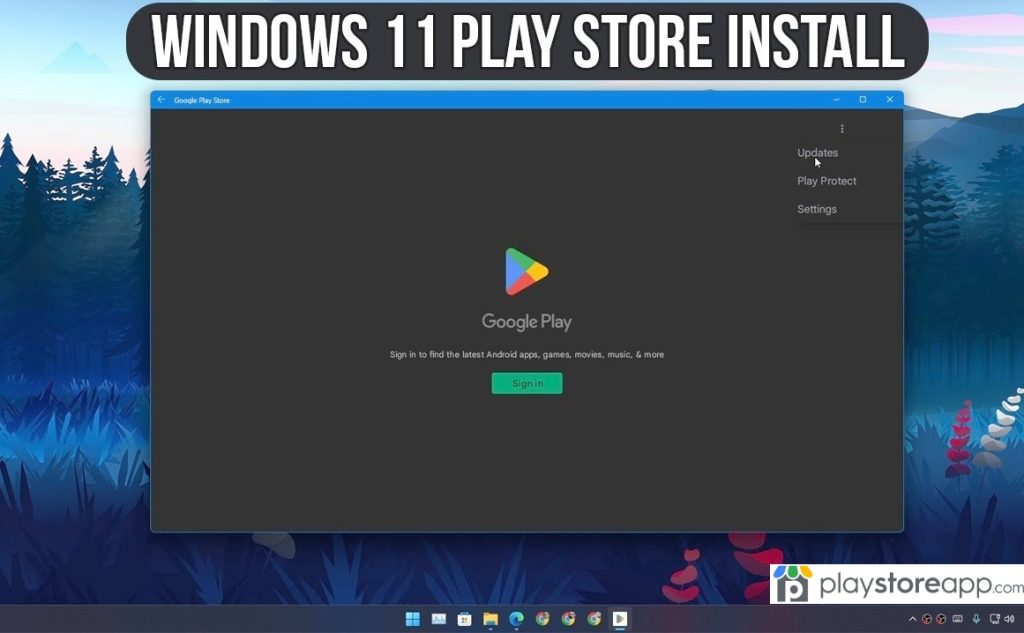
- Open Play Store app and sign in with your Google account.
- Go to “Settings” and scroll down to “Auto-update apps.”
- Select “Auto-update apps over Wi-Fi only” to save data.
- Go to “Settings” again and scroll down to “App download preference.”
- Select “Over any network” to allow app downloads over cellular data.
Other releated articles:
ABOUT ME 🙂
Barbara Newton Tabares is a skilled SEO writer with 8 years of experience in content creation, copywriting, and digital marketing. Known for her ability to craft engaging and optimized content, Barbara has a proven track record of enhancing online visibility and driving traffic for various clients.
Skills
- SEO Writing
- Keyword Research
- Content Strategy
- Copywriting
- Editing and Proofreading
- Digital Marketing
Any questions? Contact me! [email protected]